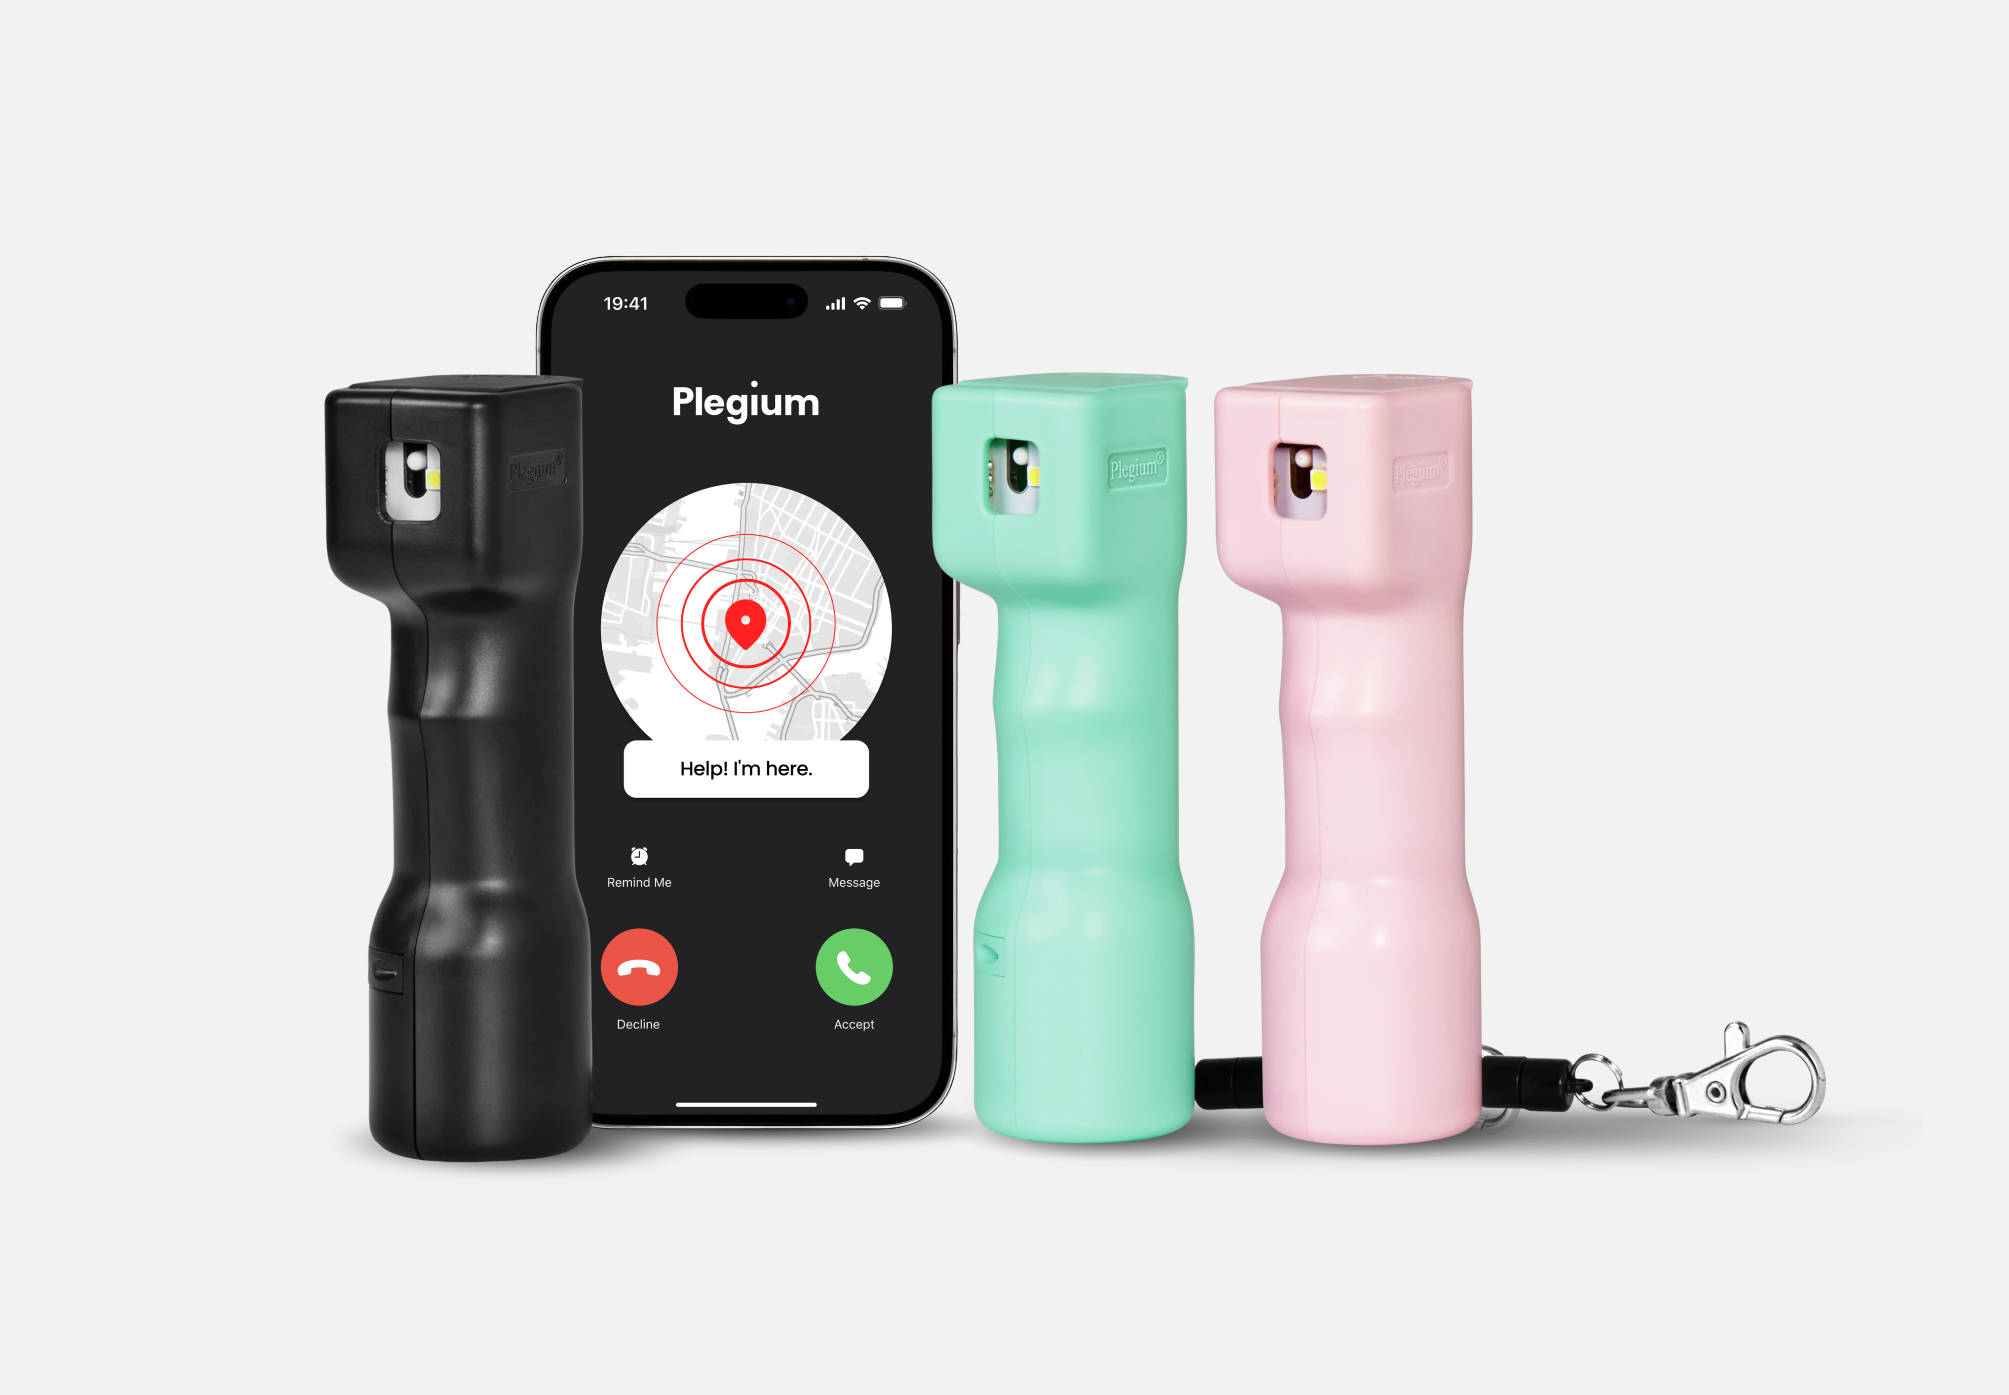
Plegium Smart Pepper Spray
Your compact & powerful safety companion


Share your location in seconds
The Plegium app enhances your pepper spray into a connected safety tool, ensuring aid is readily available wherever you go.
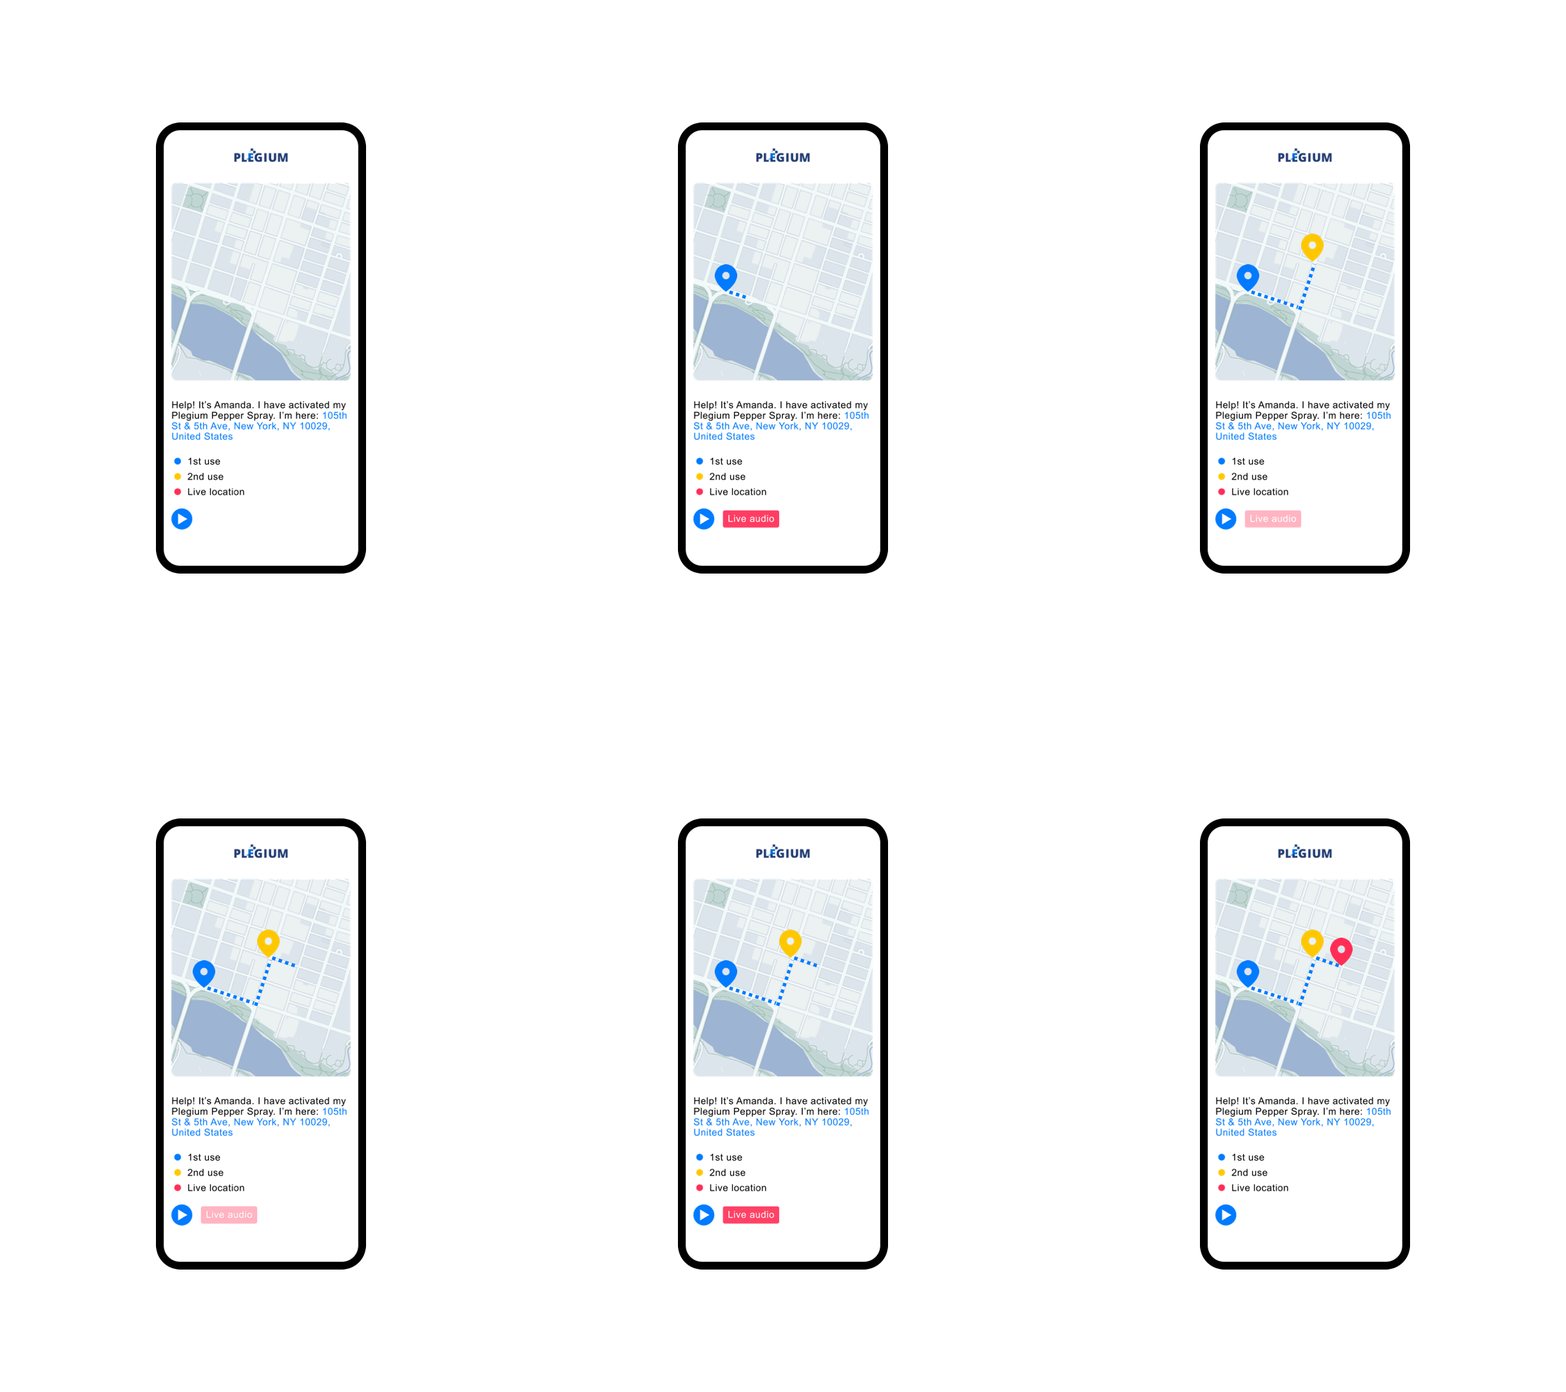
With Plus and Premium subscriptions, instantly share your location with trusted contacts and a 24/7 call center, adding an extra layer of security. Even with the free plan, access map location tracking to share your whereabouts. Choose the subscription that suits you best and have peace of mind knowing help is just a click away.
-
Maximum strength pepper spray with siren & strobe LED
-
Automatic alerts through real phone calls and texts
-
Instant sharing of your exact current location
-
Long battery life – no charging required
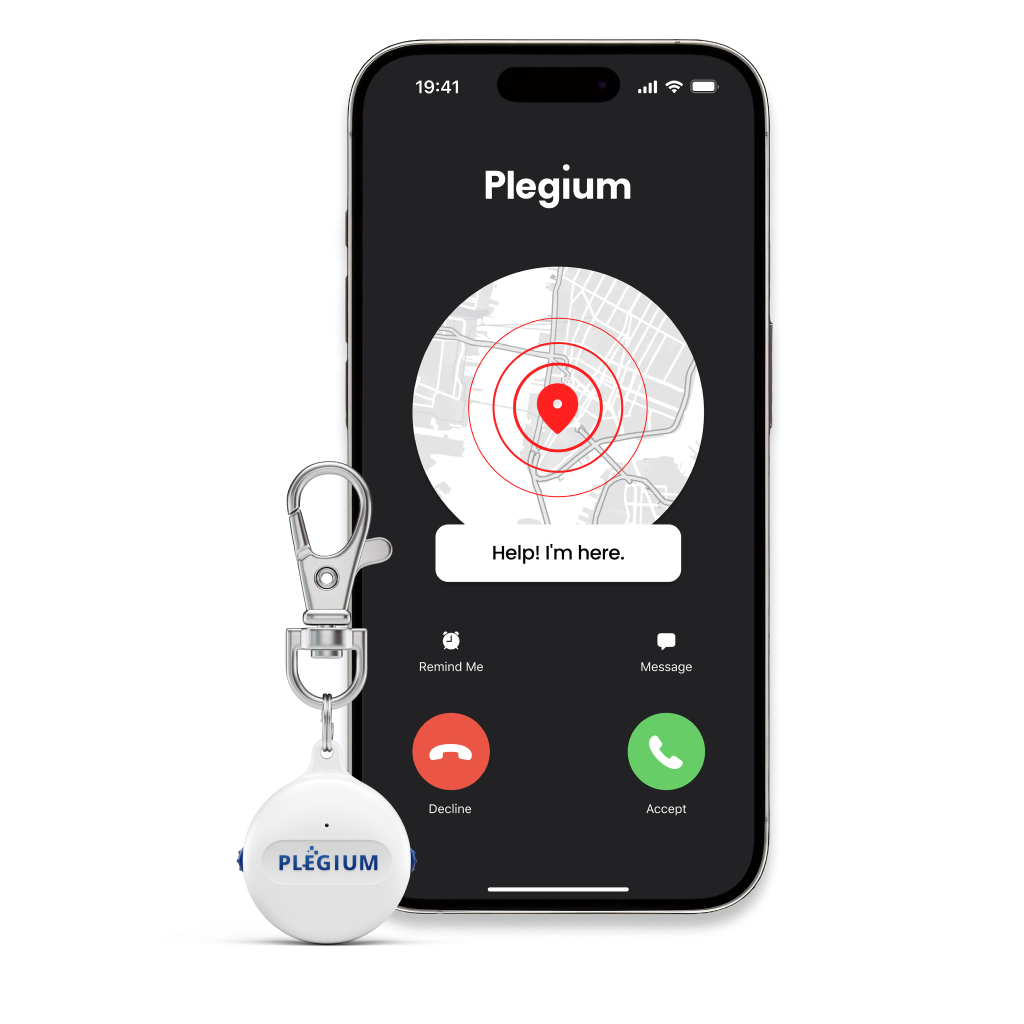
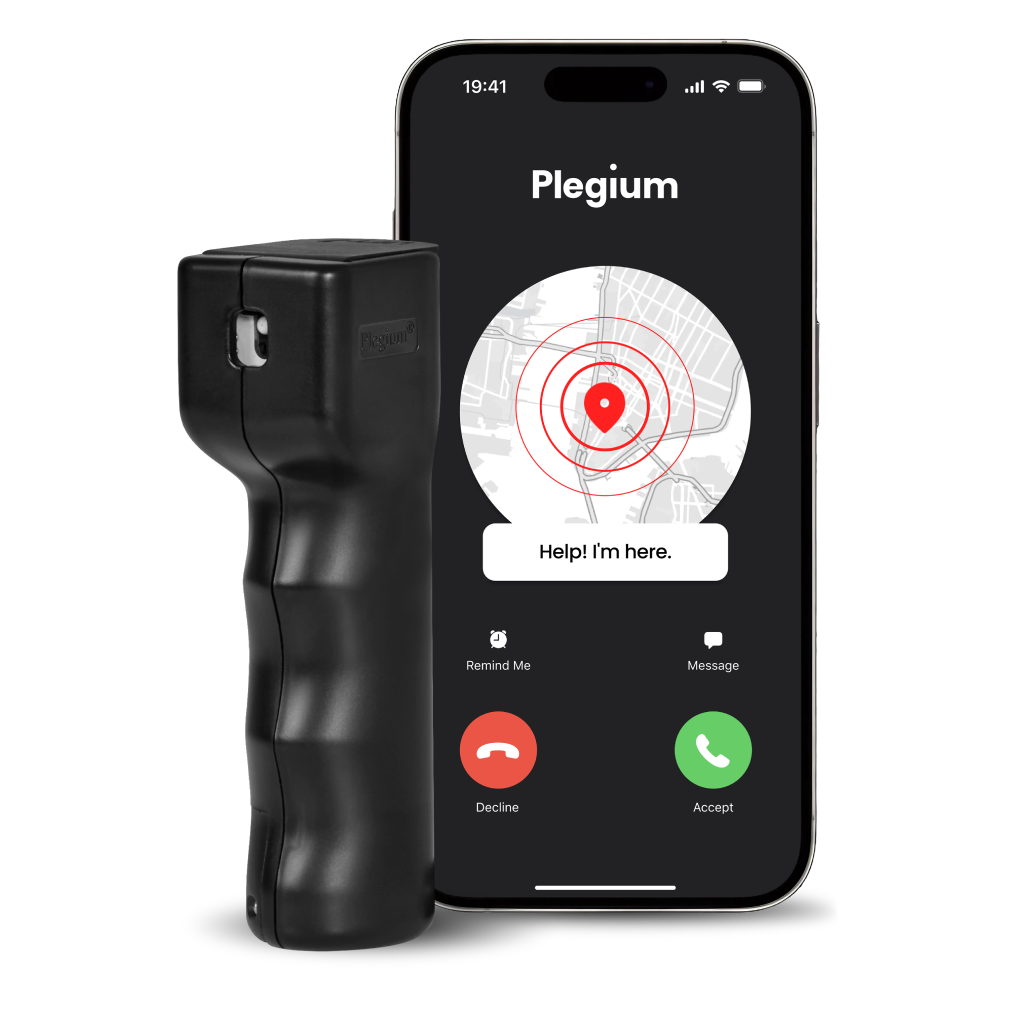
Choose your smart safety device
Instant location emergency alerts via phone call and text
FAQ
Log in to your account
To access the Enterprise Dashboard, you'll need to log in using the Admin cellphone number. Follow these steps:


3. Upon successful login, you will be directed to the Alarm page. This page allows you to view all alarms that have been activated for your account, both previous and new ones. You'll have access to all relevant data for each alarm, such as:
- Date and time
- User who activated the alarm and their contact info
- Type of alarm (test or real)
- Location
- Live tracking link for new alarms
On the left side, you'll find the menu, which includes:
- Users: Add, edit, and view your team members who have been assigned alarm devices.
- User Groups: Set up groups of users who will receive each other's alarms.
- Settings: Edit your account name, set up emergency contacts (people who should receive notifications during alarms), and add/edit emergency instructions to be included in all alarms for emergency receivers and monitoring services.

Add team member users
To ensure that your team is set up correctly to use the Plegium safety devices, you need to add each team member as a user. Follow these steps to add team members:
1. Navigate to the Users section from the left-side menu bar of the Enterprise Dashboard.
2. Click on the "Add User" button.
3. Fill in the user's details, including:
- First Name
- Last Name
- Cell Phone Number
- Email Address
- Role/Title
4. Assign the safety device to the user. Choose the type of safety device the user will be using (e.g., pepper spray or panic button) and assign it to them.
Set up Account Emergency Instructions
The Account Emergency Instructions feature allows you to include unique instructions for your organization in the emergency text messages sent to all Account Emergency Contacts. These instructions serve as guidance for when an alarm is triggered by any of the organization's users. By customizing these instructions, you can ensure that the alarm receivers have clear and specific guidance to follow during emergencies, enhancing the effectiveness of the response process.
Follow these steps to edit your Account Emergency Instructions:

Navigate to the Settings section in the left-side menu bar of the dashboard.


Scroll down the Settings page until you locate the Account Emergency Instructions section. In the designated field, type your desired emergency instructions message.
This message will be included in the emergency text messages to all Account Emergency Contacts in the event of an alarm by any of your users. Ensure the message is clear, concise, and includes all necessary information.


After entering your instructions, preview the text message to ensure accuracy and clarity.


Once you're satisfied with the message preview, click "Save" to apply your changes.

Set up Account Emergency Instructions
The Account Emergency Instructions feature allows you to include unique instructions for your organization in the emergency text messages sent to all Account Emergency Contacts. These instructions serve as guidance for when an alarm is triggered by any of the organization's users. By customizing these instructions, you can ensure that the alarm receivers have clear and specific guidance to follow during emergencies, enhancing the effectiveness of the response process.
Follow these steps to edit your Account Emergency Instructions:

Navigate to the Settings section in the left-side menu bar of the dashboard.


Scroll down the Settings page until you locate the Account Emergency Instructions section. In the designated field, type your desired emergency instructions message.
This message will be included in the emergency text messages to all Account Emergency Contacts in the event of an alarm by any of your users. Ensure the message is clear, concise, and includes all necessary information.


After entering your instructions, preview the text message to ensure accuracy and clarity.


Once you're satisfied with the message preview, click "Save" to apply your changes.

Create user groups
User groups allow you to organize team members so they can receive each other's alarms. Follow these steps to create user groups:
1. Navigate to the User Groups section from the left-side menu bar of the Enterprise Dashboard.
2. Click on the "Create Group" button.
3. Enter a name for the user group.
4. Select the users you want to add to this group from the list of available users. You can add multiple users to a single group.
5. Once all desired users are added, click "Save" to create the user group.


